 EN

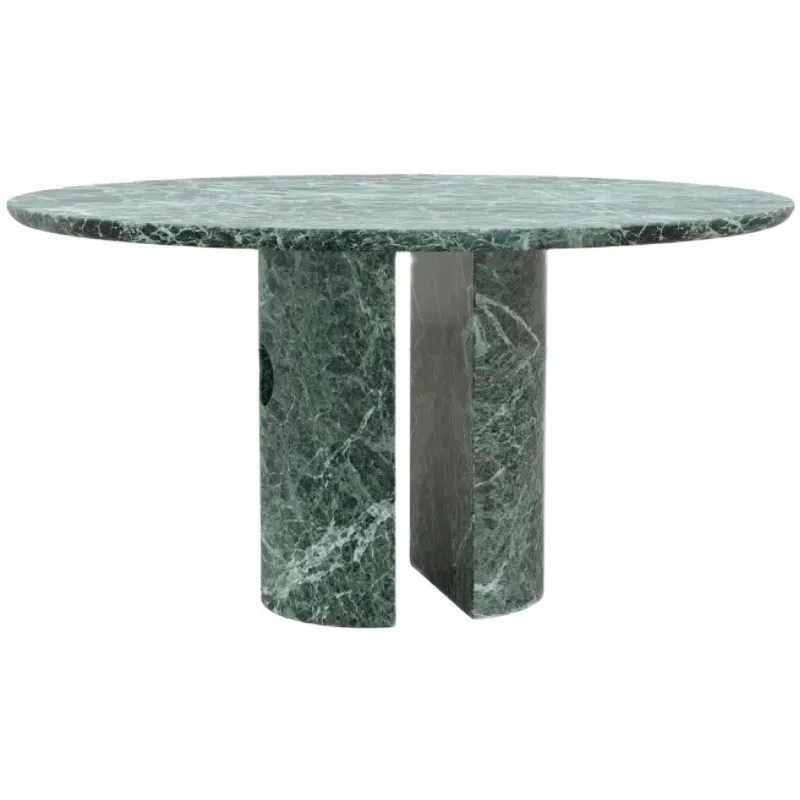
Assessing Common Marble Table Surface Damage
Before any repair, correctly diagnosing surface damage is crucial. Marble tabletops are vulnerable to three primary forms of degradation: scratches, etch marks, and chips. Scratches are physical abrasions, etch marks are chemical reactions with acids, and chips are impact fractures that remove stone material. Misidentifying them can lead to ineffective repairs—or even worsen the damage. This guide helps you distinguish each type based on cause, appearance, and tactile feedback, ensuring you choose the right restoration approach.
Distinguishing Scratches, Etch Marks, and Chips on Marble Tabletops
Scratches appear as whitish lines caused by abrasive particles dragged across the surface. You can feel a scratch with your fingernail—a telltale catch indicating a physical groove. Light scratches often result from sliding objects or grit; deeper ones require more aggressive restoration.
Etch marks, by contrast, are chemical burns—not physical damage. Acidic substances like lemon juice, wine, or vinegar dissolve calcium carbonate in the marble, leaving a dull, matte spot that feels smooth to the touch. They commonly appear as rings or watermarks and lack any tactile groove.
Chips represent physical breakage, typically from heavy impact. A chip removes a fragment of stone, exposing a rough, jagged edge that may feel sharp. Chips are the most visible damage and often require filling to restore contour and continuity.
Run your fingernail over the area: a catch signals a scratch; a smooth but dull spot points to etching. Angled lighting reveals fine lines for scratches and cloudy, hazy spots for etch marks. Chips are immediately apparent due to missing material. Accurate assessment prevents misapplied treatments and preserves long-term integrity.
Repairing Scratches on a Marble Table
Light Scratches: Dry Polishing with #0000 Steel Wool and Marble-Safe Polish
Fine, shallow scratches—often appearing as hazy white lines from cookware contact or embedded grit—can be resolved without moisture. Start by cleaning the area with a soft, dry microfiber cloth. Then, using ultra-fine #0000 steel wool, gently buff along the grain (or in small circular motions) with light, even pressure. Always test on an inconspicuous area first to confirm compatibility with your marble’s finish. After buffing, wipe away all residue and apply a pH-neutral, marble-safe polishing compound. Buff again with a clean, dry cloth until the shine fully blends with the surrounding surface.
Deeper Scratches: Honing with Graded Diamond Pads
When a scratch catches your fingernail, dry polishing is insufficient—the surface must be mechanically leveled. Use a variable-speed polisher and resin-bond diamond pads in ascending grits: begin with 200-grit to remove the scratch, then progress through 400, 800, 1500, and 3000-grit pads. Clean the surface thoroughly between each step to avoid cross-contamination. This graded approach eliminates deeper abrasion while restoring a uniform honed sheen. Skipping grits or using inconsistent pressure risks visible waves or low spots—flaws that may cost up to $740 to correct professionally, per 2023 industry benchmarks. Protect adjacent surfaces with painter’s tape during work.
Removing Etch Marks and Stains from a Marble Table
Marble reacts differently to etch marks and stains: etching is a surface-level chemical burn that dulls polish, while staining involves absorption into the stone’s pores. Correct identification determines whether treatment targets the surface or draws material out from within.
Neutralizing Acid Etching with Marble Polishing Compound and Buffing
Etch marks stem from acidic substances reacting with calcium carbonate—lemon juice, wine, vinegar, and even some cleaners can trigger this. For minor etches, begin by cleaning the area with distilled water and a soft cloth. Apply a marble-specific polishing compound containing tin oxide or oxalic acid per manufacturer instructions. Work it in small circles using a soft cloth or low-speed buffer (1,500–2,000 RPM) until the original luster returns. If the etch feels rough or persists after polishing, lightly hone the spot with a 400-grit diamond pad, then refine with 800- and 1500-grit pads before final polishing. Blot excess moisture promptly to avoid water rings. Once restored, reseal the surface to slow future etching.
Lifting Organic and Oil-Based Stains Using a Custom Poultice
Stains from coffee, red wine, cooking oil, or food penetrate marble’s pores and must be drawn out—not scrubbed away. Prepare a poultice paste: for water-based stains (e.g., coffee), mix baking soda or diatomaceous earth with distilled water; for oil-based stains (e.g., salad dressing), use mineral spirits or acetone. Apply a ¼-inch-thick layer over the stain, extending slightly beyond its edges. Cover with plastic wrap sealed at the edges using tape. Allow the poultice to dry completely—typically 24–48 hours—as drying creates capillary action that pulls the contaminant upward. Scrape off the dry residue with a plastic utensil, rinse gently with distilled water, and pat dry. Repeat if needed. Always seal the surface afterward to reduce future absorption.
Fixing Chips and Micro-Cracks in a Marble Table Surface
Small chips and hairline cracks can often be repaired at home—if the damage isn’t structural. For chips smaller than a dime, use a color-matched epoxy or stone repair adhesive. Clean the area thoroughly with acetone or denatured alcohol, then apply filler carefully with a toothpick or spatula—slightly overfilling to allow for sanding. Let cure fully (usually 24 hours), then level flush using 1200-grit wet/dry sandpaper. For hairline cracks, a low-viscosity cyanoacrylate or stone repair resin can be wicked into the crevice, then sanded and polished once cured.
For seamless results, tint the filler with powdered marble dust or universal tints to match veining and tone. After sanding, restore sheen with a marble polish or penetrating sealer. Commercial marble repair kits—available at major home improvement retailers—include pre-tinted compounds and clear instructions. However, consult a certified stone restoration professional for cracks wider than 1/16 inch, chips larger than a dime, or any sign of structural instability. DIY attempts on significant damage risk propagation or costly replacement. Seal the repaired area—and the full tabletop—regularly to inhibit moisture intrusion and slow crack expansion.
FAQ
Q: How do I differentiate between scratches and etch marks on marble?
A: Run your fingernail over the area. If it catches, it’s likely a scratch. If it feels smooth but looks dull, it’s an etch mark.
Q: Can all scratches on marble be repaired at home?
A: Light scratches can often be polished out with steel wool or marble-safe compounds. Deeper scratches may require diamond grinding pads.
Q: How can I prevent future etch marks on my marble table?
A: Use coasters for acidic drinks, wipe spills immediately, and reseal your marble to create a protective barrier.
Q: What materials can I use to fill chips in a marble table?
A: For small chips, color-matched epoxy or stone repair adhesives work well. You can also tint the filler to match the marble’s veining.
Q: When should I consult a professional for marble table repairs?
A: Seek professional help for damage such as structural cracks, large chips, or repairs beyond DIY capabilities.